Still Wakes the Deep: Mastering the Water Tanks Escape
- Grace Lee
- June 27, 2024

As you delve deeper into the harrowing depths of Still Wakes the Deep, you’ll eventually encounter the infamous water tank area. This section can be quite a challenge, but do not worry. With this detailed guide, you'll be able to navigate and escape through the water tanks with ease. Let’s break it down step-by-step to ensure your survival and progression in this nerve-wracking journey.
Step 1: Beginning the Descent
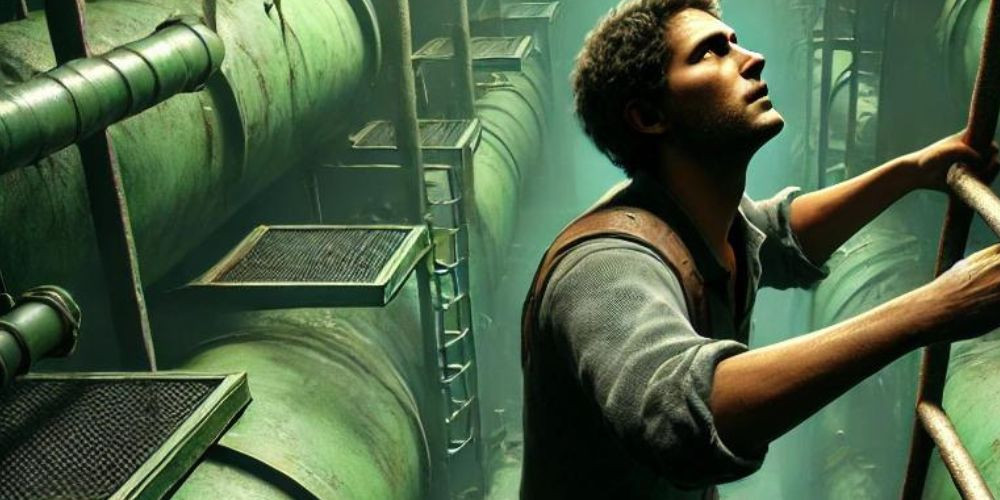
Right after your conversation with Finlay about reaching the Accommodations and Gibbo’s current state, head to the nearest stairwell. Begin your descent and focus on staying calm and orienting yourself as you move. Follow the path that winds between the looming green water tanks. This visually striking path will lead you to a critical point – a ladder that begs to be climbed.

Step 2: Climbing to Safety
Position yourself near the ladder and start climbing. Don't rush; deliberate movements ensure you don’t miss any important steps. At the top, you’ll find yourself near a door marked with an exit sign. Align yourself properly and drop down to this door, passing through it with confidence.
Step 3: Dealing with the Steam Hazard
In the next room, a prominent pipe will be emitting potentially harmful steam. Locate the nearby valve and interact with it to stop the steam. This will clear the path ahead. With the steam hazard neutralized, descend the newly accessible ladder.
Step 4: Valve Operations
Once at the bottom, interact with the valve there, then ascend the adjacent ladder. At the top of this second ladder is yet another valve; give it a good turn to adjust the environment further. This careful manipulation of valves is essential in progressing through this claustrophobic area without encountering harmful obstacles.
Here’s a small tip: this sequence of interactions is an excellent opportunity to advance toward the Finlay Destination achievement. Keep this in mind as you move forward.
Step 5: Navigating the Steam-Cleared Path

Backtrack to the location of the first valve you encountered. The path that was previously obstructed by steam is now clear. Navigate through it carefully, taking the time to duck under any debris blocking your way. This path will lead you to yet another room, one that contains an exit door.
Step 6: Lever and Ladder Mechanics
Upon reaching this room, locate the lever directly opposite the exit door and interact with it. This action will lower a ladder, creating yet another critical point of escape. Ascend the ladder to face your next challenge.
Step 7: The Yellow Bars Ascent
Once you reach the top of the newly accessed ladder, make your way to the yellow bars affixed to the right-hand wall. Use these bars to continue climbing. Precision is key here, as you’ll need to slide across a very narrow ledge to reach a door. Steady yourself and pass-through this door confidently.
Step 8: Descending Stairs and Machinery Gaps
Follow the path to the right after passing through the door. Soon, you will encounter a small flight of stairs on the left. Descend these stairs and prepare to squish through a tight gap between machinery. Upon emerging, look left to find a sign that reads “Area Management & Construction Only.” Enter the corridor this sign marks.
Step 9: Vaulting Pipes and Gaps
Navigate through the corridor until you encounter a prominent yellow pipe. Vault over this pipe and proceed left. Squeeze through the gap on your right to continue through the eerie passage. This section requires careful, deliberate movement to ensure you maintain your bearings and stay headed in the right direction.
Step 10: Navigating Green Pipes and Metal Scaffolding
Duck under a series of green pipes next. These pipes can be disorienting, so stay focused. After clearing this section, turn right and use the narrow metal scaffolding to ascend. Once you reach the top, you’ll need to drop back into the water. This may seem counterintuitive, but trust the path laid out before you.
Step 11: Following the Yellow Pipes
Continue to follow the path marked by yellow pipes, ducking when necessary. This path is your guiding light through the maze-like water tanks. You will eventually reach a small staircase, at which point you should go left at the top to find a ladder. Climb this ladder and open the hatch at the top. Descend through this hatch.
Step 12: Encountering the Hanging Body
Progress through this final section until you encounter a distressing sight – a body hanging from a ladder. While unsettling, you must interact with the body to clear your path. Once you've done this, climb the ladder to continue your ascent out of the water tanks.
Step 13: Final Push to Freedom
At the top of the ladder, descend a flight of stairs and follow the path to the right. Cross a gap that separates you from a large metal staircase. This staircase will ultimately lead you to a door – your exit from the dreaded water tank area. With a sense of accomplishment, step through this door and into the relative safety of the Accommodations section of Still Wakes the Deep.
By following these steps and maintaining your composure, you’ll successfully navigate and escape through the water tanks in Still Wakes the Deep. This guide should serve as a beacon to guide you through one of the more intense sections of this gripping survival horror game. Good luck, and may you find the resolve to face whatever comes next.

