Mastering the RL-77 Airburst Launcher in Helldivers 2
- Landon White
- September 08, 2025
The RL-77 Airburst Launcher is that rare support weapon that rewards patience and planning as much as raw courage. Where the recoilless and rail solutions prize straight-line power, the RL-77 specializes in programmed aerial detonations that shred clustered targets, arc over cover, and punish formations sheltering behind terrain. It is the definition of area control in Helldivers 2: a precision crowd-control tool with the reach to thin patrols before they snowball and the finesse to rain fragments onto weak points that ground-level explosives can’t easily touch. If you’ve ever watched a lane get congested with chittering threats or shielded automatons and wished for a way to crater their confidence without exposing yourself, this launcher answers that wish. It is not a universal fix; heavy armor will shrug at careless shots, and casual misfires can punish teammates. Yet, in the hands of a calm operator who understands fuse programming, elevation, and angles, the RL-77 becomes a tempo engine for the squad—setting the pace of engagements, rewriting lines of fire, and buying decisive breathing room exactly when the mission begins to squeeze.
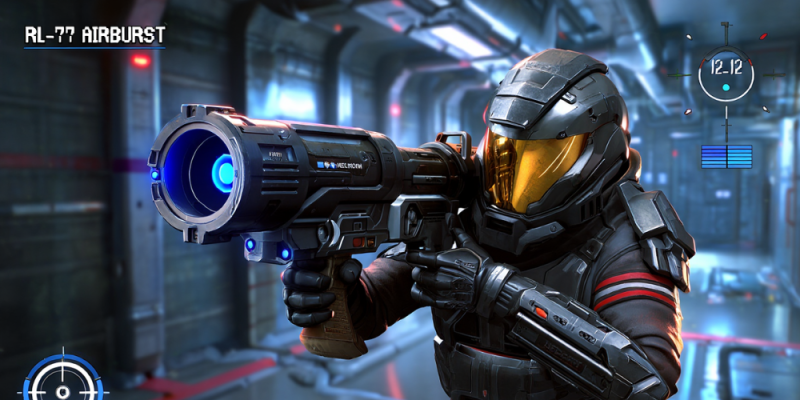
At its core, the RL-77 fires a relatively stable rocket with a programmable airburst fuze. Instead of relying on a direct impact to detonate, you set a distance and the warhead bursts above that point, scattering lethal fragments in a wide radius. The arc is moderate—enough to pitch rounds over dunes and berms—while velocity is quick enough to correct leads on moving targets without feeling sluggish. You program the fuze by aiming at a surface to sample range, then tapping the alternate-fire key to store that distance; subsequent shots detonate near that mark even if the round passes above ground clutter. This lets you pop a warhead over a trench line or a stairwell landing and let gravity and shrapnel do the rest. Reloads are methodical, so you want cover or a teammate to watch your flank while cycling tubes. Ammo is limited per call-in crate; treat each rocket like a miniature support stratagem, not a spray-and-pray solution. Minimum safe distance matters—give yourself a few meters buffer and mind overhead clearance, since tree canopies or outcrop lips can prematurely detonate your shot.
Understanding its strengths and gaps keeps you honest. The RL-77 is devastating against light and medium hostiles packed in lanes, around objective chokepoints, or clustered near spawners. Terminid patrols, ranged spitters perched on ridges, and camouflaged stalkers hugging shrubs melt when the burst is timed to go off just over their heads. Against automatons, it excels at punishing shield formations and infantry caught behind barricades; fragments curve into angles that straight-line ordnance can’t. Top-side components on larger targets also take meaningful damage when you burst just above them, but true heavy armor is still better delegated to a rail, recoilless, or EAT specialist. That division of labor shapes loadouts: pair the RL-77 with a reliable mid-range primary for self-defense and bring grenades that complement your role—smoke for repositioning after a shot, or high-ex for last-ditch denial. In the stratagem slot, Eagle air support and Mortar Sentry create layered pressure, while a Supply Pack teammate extends your uptime without forcing wasteful resupplies.
Tactics revolve around distance discipline, staging, and communication. Before the first pull, agree on lanes so your arc overwatch doesn’t intersect with shotgun rush routes or turret cones. As contact builds, pre-range a few common distances—short, mid, and far—by sampling objects at those ranges with the alt-fire key; that way you can fire, adjust, and fire again without losing tempo. Shoot from slight elevation whenever possible: bursts from above cast fragments wider and reduce the chance of hitting low rocks that would cut your shot short. Against shield carriers, send the round a few meters past the front line so the airburst showers their backs and feet. When clearing a nest approach, bracket: one round airbursting behind the first wave to panic it forward, a second timed over the mid-lane to catch the surge, and your primary cleans stragglers. Never stand directly behind an RL-77 user—set a diagonal offset so backblast lanes are clean and revives are safer. Use pings to steer teammates out of your fragmentation cone, and count down shots so divers pushing a flank aren’t surprised by a sudden overhead detonation.
Conclusion
Choose the RL-77 when your team needs a surgeon’s answer to numbers: maps with channels, objectives with tight approaches, and operations where early denial turns chaos into control. Leave it in the pod when the plan demands constant anti-armor pressure or when your squad already fields multiple high-explosive solutions that would crowd lanes. If you do bring it, commit to the role: stage reloads behind cover, pre-program ranges, and communicate your firing windows. You’ll discover a rhythm—designate a lane, prime the fuze, take the shot, shift two steps, and cover the reload while a teammate advances. Over time, you’ll intuit how fragments spill off ledges, how wind-up animations of enemies open tiny timing windows, and how a single well-placed burst can unravel an entire patrol before it senses you. That feeling—hearing comms go from tense to confident as the line steadies—is the quiet reward of the RL-77. It doesn’t shout with spectacle; it sculpts the battle so the rest of your kit, and your squad mates, can thrive. Master that and you’ll carry missions not with flashy hero moments, but with a steady hand that turns hard objectives into clean evacuations.

